

|
|
|
Post Reply 
|
Page <1 23456 24> |
| Author | |
Ghia 
Vanorak 
Nesh Joined: 04 Mar 05 Location: Banbury Status: Offline Points: 2889 |
 Posted: 26 Nov 07 at 07:25 Posted: 26 Nov 07 at 07:25 |
|
Bus Boy, yes it had 2 pipes coming out of the air filter housing which then went into one (y-piece) and they were connected up to the EGR control solenoid which is now defunct as I've blocked it off so I can delete those although the EGR solenoid will stay connected to the ECU so I don't get any error codes. The engine code is AAT. Once it's up and running I'll be fitting some 175bhp injector nozels and having the ECU chipped. As to how long... er that piece of string is long Nige, The rear vent will have a hole cut in it with the same hole saw and will slide over it etc. I had thought about making up a blanking plate but we'll see how it looks with an original vent cut to suit. Dub4life, thanks dude... I'm looking forward to doing some serious offroading in it. MG Edited by Ghia |
|
 |
|
|
BUS.BOY
Vanorak

Joined: 15 Oct 04 Location: brizel Status: Offline Points: 1563 |
Posted: 26 Nov 07 at 18:31 |
|
why so many wires ?? my loom dont look like that !! did you remove it from the doner car your self ?
|
|
|
************bristol t3 racers************
|
|
|
|
|
Ghia
Vanorak
Nesh Joined: 04 Mar 05 Location: Banbury Status: Offline Points: 2889 |
Posted: 27 Nov 07 at 00:10 |
|
I think your 2.5 is a TD rather than a TDi. I removed the loom from the car myself after having test driven it. I have to remove just about all of the interior including the dash. MG |
|
|
|
|
BUS.BOY
Vanorak
Joined: 15 Oct 04 Location: brizel Status: Offline Points: 1563 |
Posted: 27 Nov 07 at 18:28 |
|
when i striped the audi for my doner engine it took 2.5 hrs to get the engine out then 7 hrs to remove the loom and pedal box etc !!!

|
|
|
************bristol t3 racers************
|
|
|
|
|
Ghia
Vanorak
Nesh Joined: 04 Mar 05 Location: Banbury Status: Offline Points: 2889 |
Posted: 28 Dec 07 at 22:55 |
|
I've added a few pics on the first page of the 5 Cylinder specific parts needed. MG |
|
|
|
|
Tim Hamnett
Yardie 
Joined: 11 Nov 05 Location: sitting down Status: Offline Points: 853 |
Posted: 29 Dec 07 at 13:57 |
|
MIke,
what angle does the Audi engine sit at with the SA bellhousing ? Is it standard car format, or punted further over. Does the same housing work with a V6. Obviously a V6 needs to sit straight up. |
|
|
|
|
Ghia
Vanorak
Nesh Joined: 04 Mar 05 Location: Banbury Status: Offline Points: 2889 |
Posted: 29 Dec 07 at 15:37 |
|
Tim, The 5 Cylinder, the V6 and V8 Audi engines (not the VR6) all use the same bolt pattern so you can use the SA Bellhousing for all. The 5 Cylinder sits at the same angle as per factory in Audi's. It's leans over slightly but not much. Audi use the same gearbox casings for the 5, 6 and 8 cylinder engines so the angle will be correct no matter which engine you fit. Oh the Porsche water cooled flat six engine also uses the same stud pattern as they started off with Audi gearboxes in the Boxster and it grew from there. MG |
|
|
|
|
Tim Hamnett
Yardie
Joined: 11 Nov 05 Location: sitting down Status: Offline Points: 853 |
Posted: 29 Dec 07 at 16:39 |
|
Taa, I know SA buses have a slightly raised platform. Is it possible to fit the AUDI TDi under the standard hatch of a bus/van. same go's for the V6.
Never had a look under a boxter. Being effectively mid engined, is the gearbox in front or behind the engine. I'd imagine behind, as it would be with front engine vehicles. I made a contact ages ago with an SA parts dealer, who seemed seriously cheap. Have you got the part numbers for all the requisite bits? How do you find the shipping costs? |
|
|
|
|
Ghia
Vanorak
Nesh Joined: 04 Mar 05 Location: Banbury Status: Offline Points: 2889 |
Posted: 29 Dec 07 at 17:03 |
|
Tim, Yes the platform is raised by about 4 inches. The 5 Cyl TDi has a lower inlet manifold than the petrol and no dizzy (which is what gets in the way). Also I have lowered the engine another 20mm from syncro height (which is already 20-25 mm lower than 2WD) to get the engine under the stock lid. I have a few pics of a V6 petrol install but not from above but I expect that he raised the floor slightly. The V8 wouldn't fit in a van, it only just fits in a Syncro Pickup so I'd expect the V6 would be similar. The parts when bought in SA are not expensive. It's getting them back to UK which is expensive. I have imported 2 lots of parts from SA myself and both times the shipping costs (inc import duty) were more than the parts themselves. Porsche engines, Boxster is mid-mounted with gearbox at the back but the 911 (996 and 997) use the same mounting and are rear engined. They're extremely expensive to fix though and do go wrong. MG |
|
|
|
|
Tim Hamnett
Yardie
Joined: 11 Nov 05 Location: sitting down Status: Offline Points: 853 |
Posted: 29 Dec 07 at 23:44 |
|
There goes the get rich quick scheme then! (SA parts)
I've seen the V6 tiptronic install pics, in the links section, very impressive, very very expensive by the looks of it! Just cant quite get that V6 noise out of ma head . I presume the rear engine Porker box is a completely different animal, no interchangeable parts (as in direction of final drive). I know I've seen pictures of a V6 under a standard lid somewhere, may have been in a rather sad dream though. |
|
|
|
|
Ghia
Vanorak
Nesh Joined: 04 Mar 05 Location: Banbury Status: Offline Points: 2889 |
Posted: 30 Dec 07 at 17:47 |
|
The Porsche gearbox (from 911) is particular to Porsche. Nothing changes over. MG |
|
|
|
|
sportwomble
Yardie

Joined: 29 Aug 07 Location: bromley Status: Offline Points: 832 |
Posted: 13 Jan 08 at 15:55 |
|
Good work fella Can't wait too see it in its finished Glory!!! |
|
|
|
|
Ghia
Vanorak
Nesh Joined: 04 Mar 05 Location: Banbury Status: Offline Points: 2889 |
Posted: 18 Jan 08 at 15:37 |
|
V Small update due to the fact that it's pissing down and I don't have a garage or lean to big enough to put this thing under Sorted modding the coolant tank bracket so that they sit under the lid and don't catch any of the engine components. I welded a few spacers onto the frame so it would sit in the right place. 
I'll have to shorten a coolant pipe a little ( MG Edited by Ghia - 15 Nov 09 at 15:11 |
|
|
|
|
Ghia
Vanorak
Nesh Joined: 04 Mar 05 Location: Banbury Status: Offline Points: 2889 |
Posted: 26 Jan 08 at 17:56 |
|
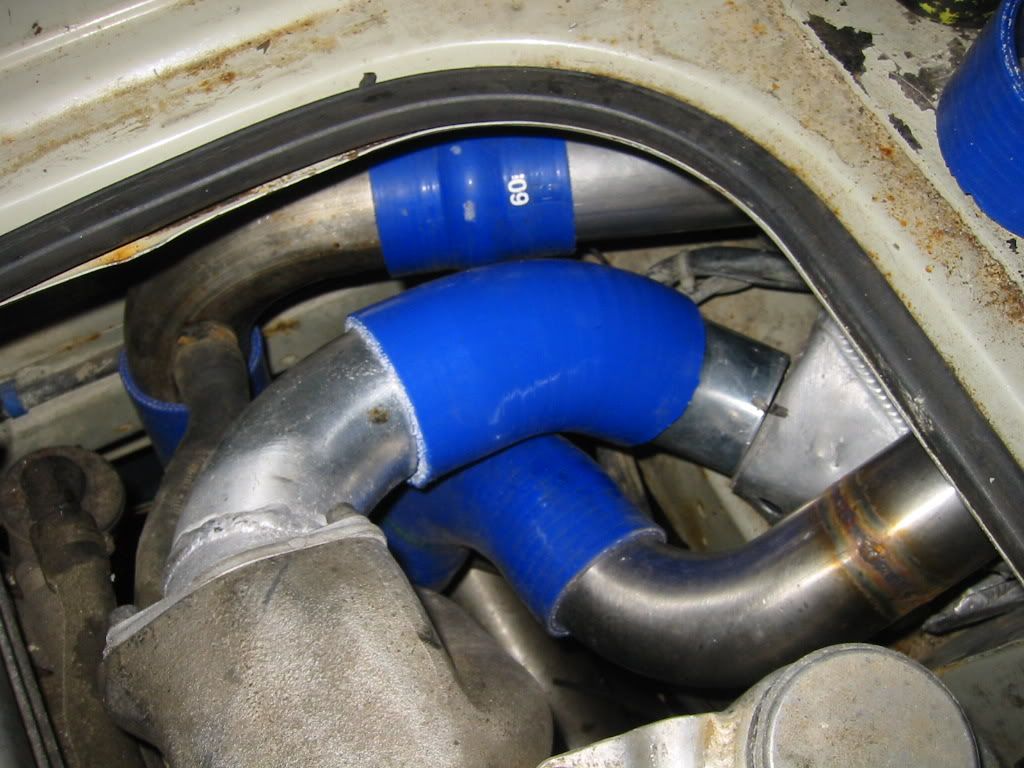
Another small update. Cut down and test fitted the last silicone boost pipe again supplied by Venair. I need to buy a few small ally pipes and make some brackets to bolt the charge cooler down in situ and then take everything to my welder. 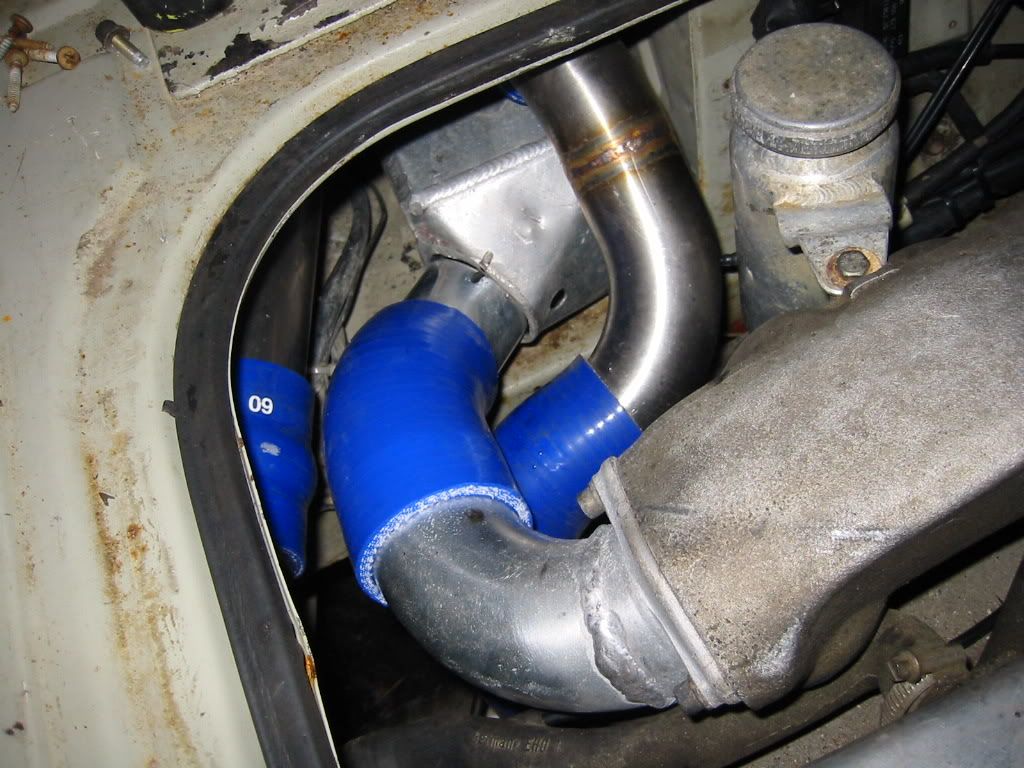
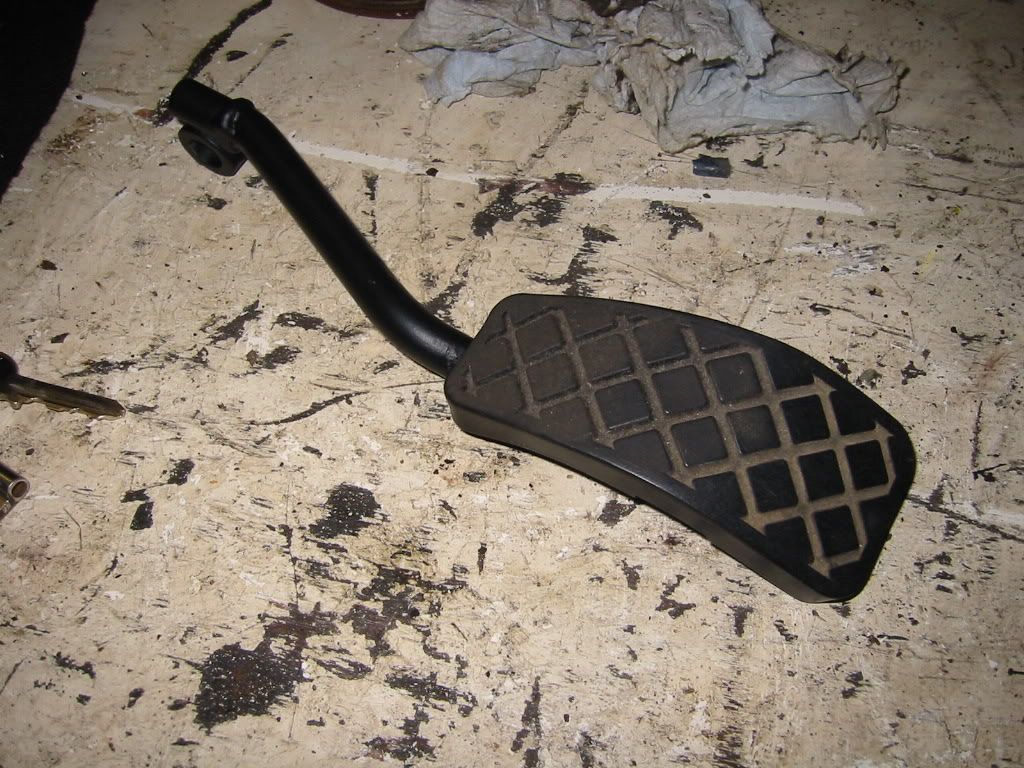
Bought a TDi throttle pedal assembly which I was hoping might fit behind the dash tube but it won't 

I think I'll have a good stint at the wiring etc tomorrow. MG Edited by Ghia - 15 Nov 09 at 15:51 |
|
|
|
|
Full Throttle
Vanorak

Joined: 08 Jun 05 Location: England Status: Offline Points: 1829 |
Posted: 27 Jan 08 at 22:01 |
|
Nice work there mike.

|
|
|
|
|
Ghia
Vanorak
Nesh Joined: 04 Mar 05 Location: Banbury Status: Offline Points: 2889 |
Posted: 27 Jan 08 at 22:41 |
|
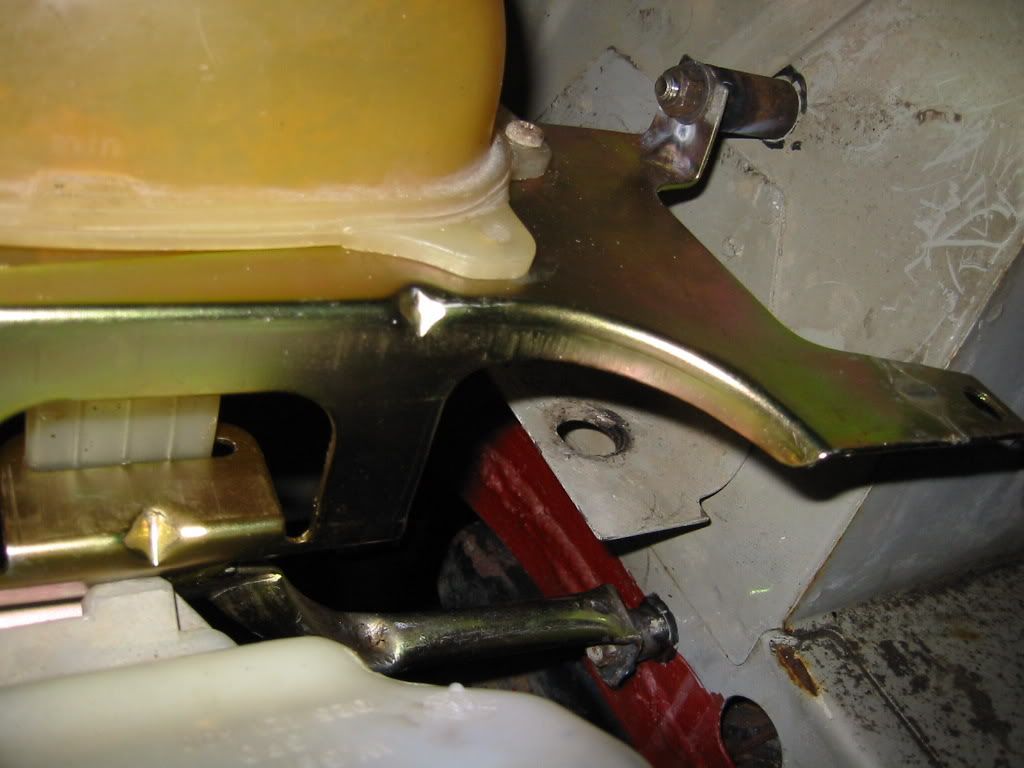
We've had a good day today. I had a helping hand from a good friend (Byron take a bow!) who works for Lotus. First on the menu was to replace the gearbox mounts which I stole for the Tristar as they were missing. One of the bolts made a mess coming out when they were removed so a Time-sert later and they're back on and bolted up properly. Next was looking at the throttle potentiometer again and with ideas between us, Byron fitted up the potentiometer block, heavily modified the throttle arm by cutting and welding it and finally welding the pedal back on. I think results speak for themselvse. I might make up a cover to go over the potentiometer but haven't decided yet. 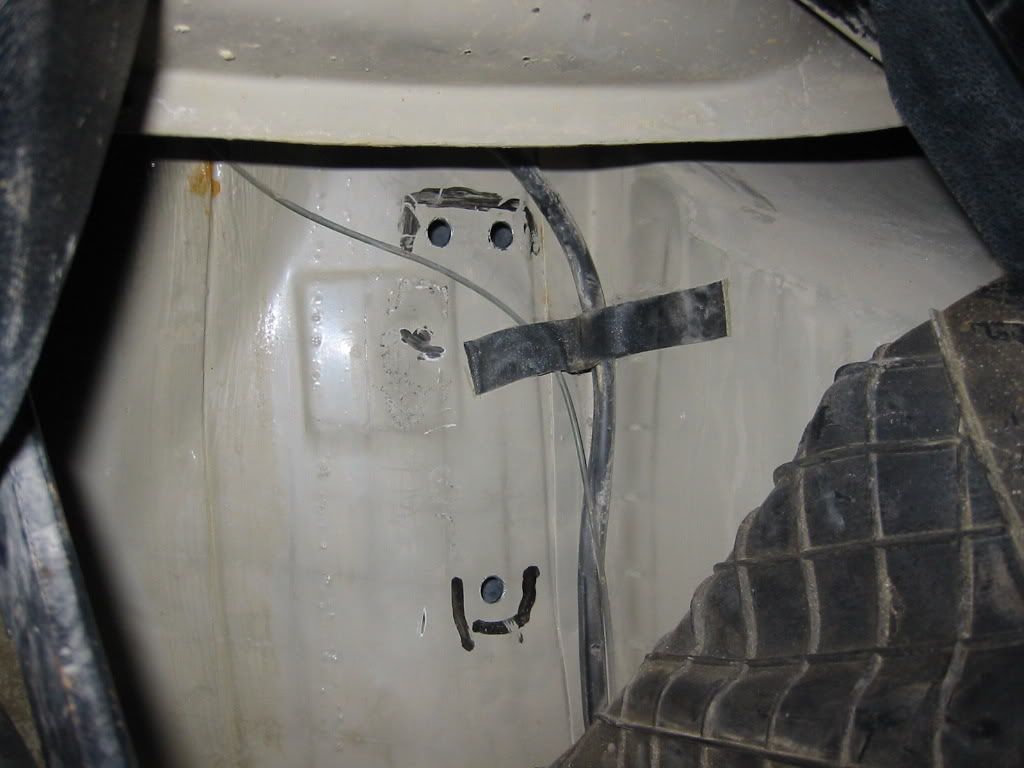
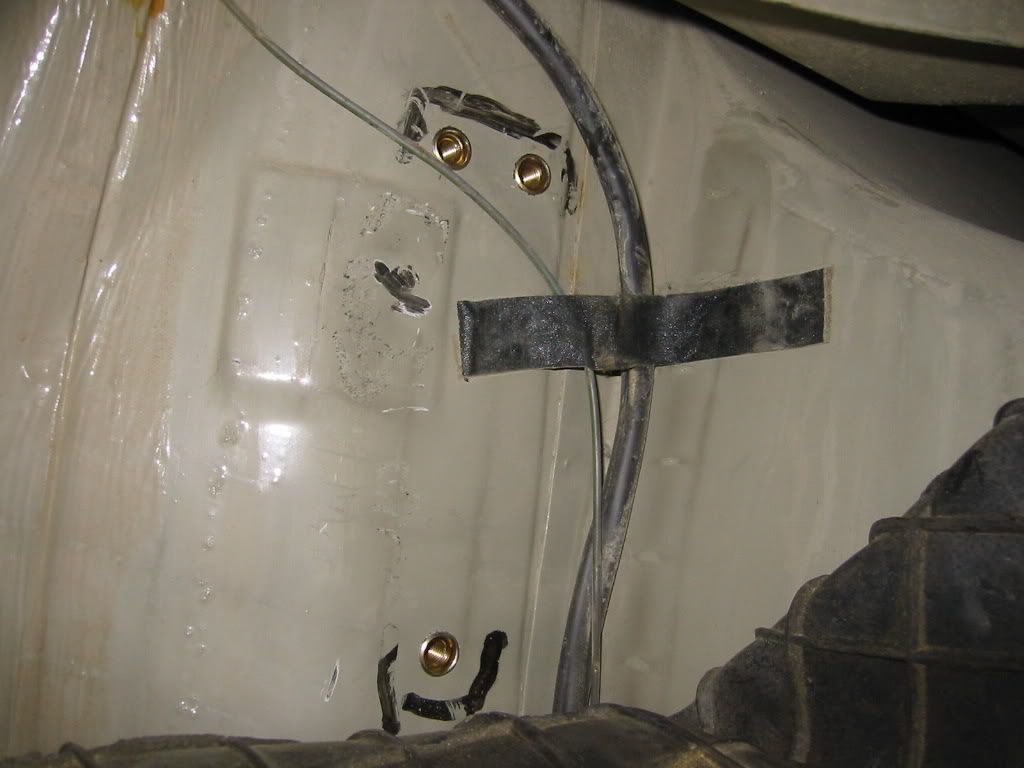
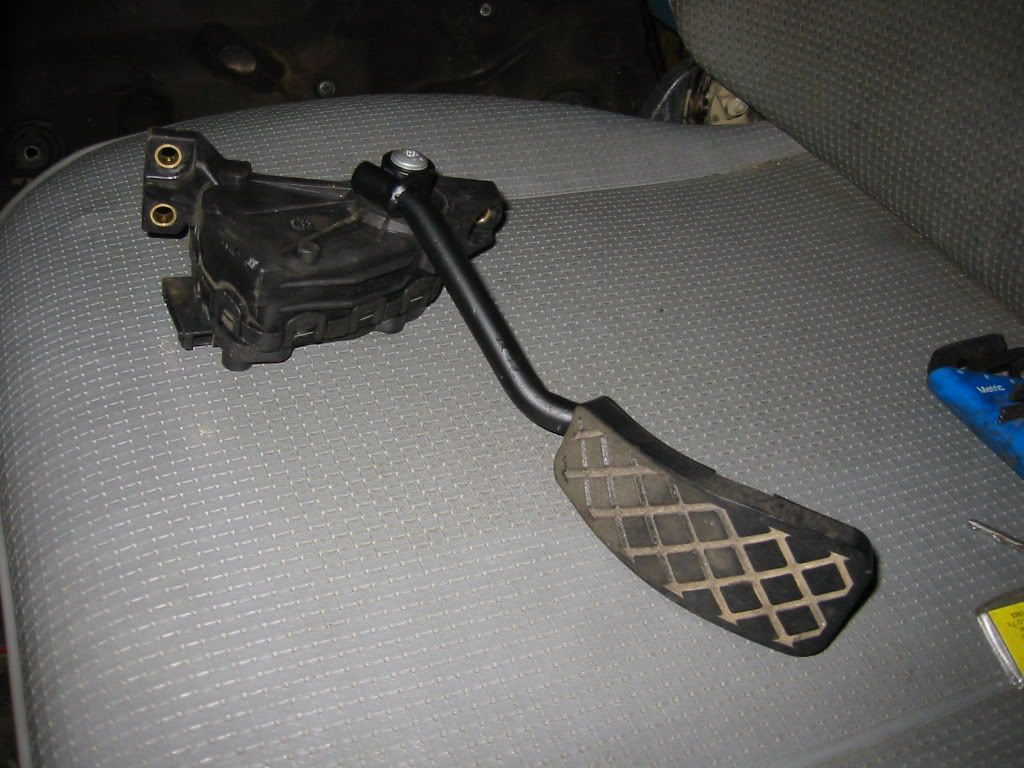
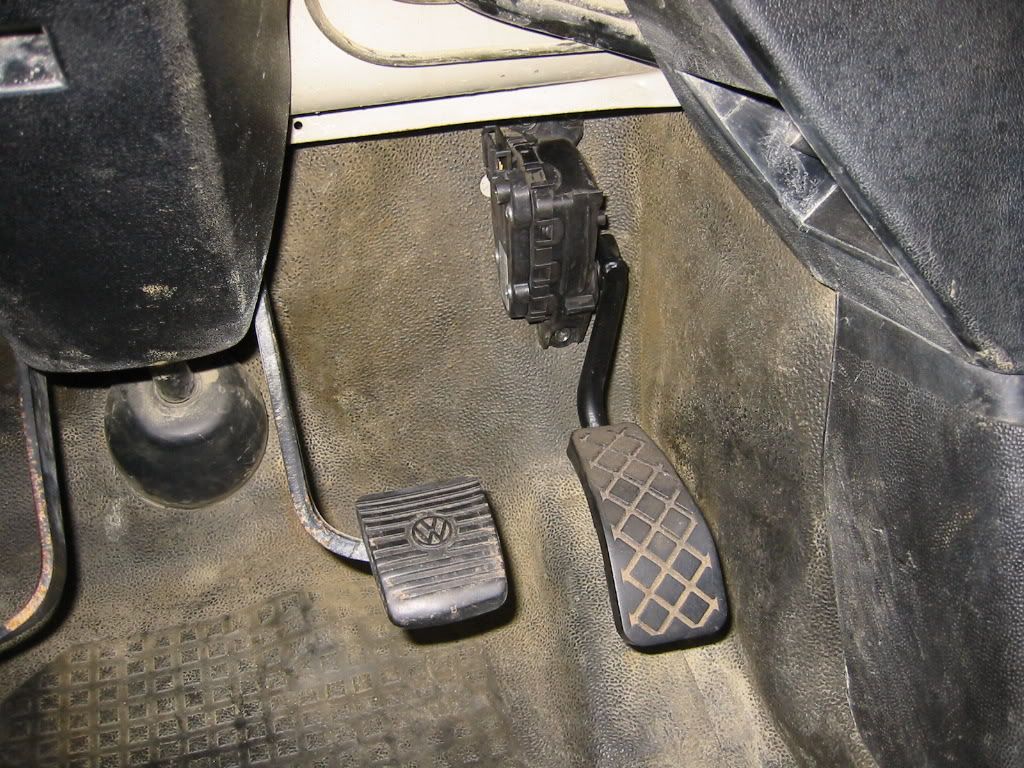
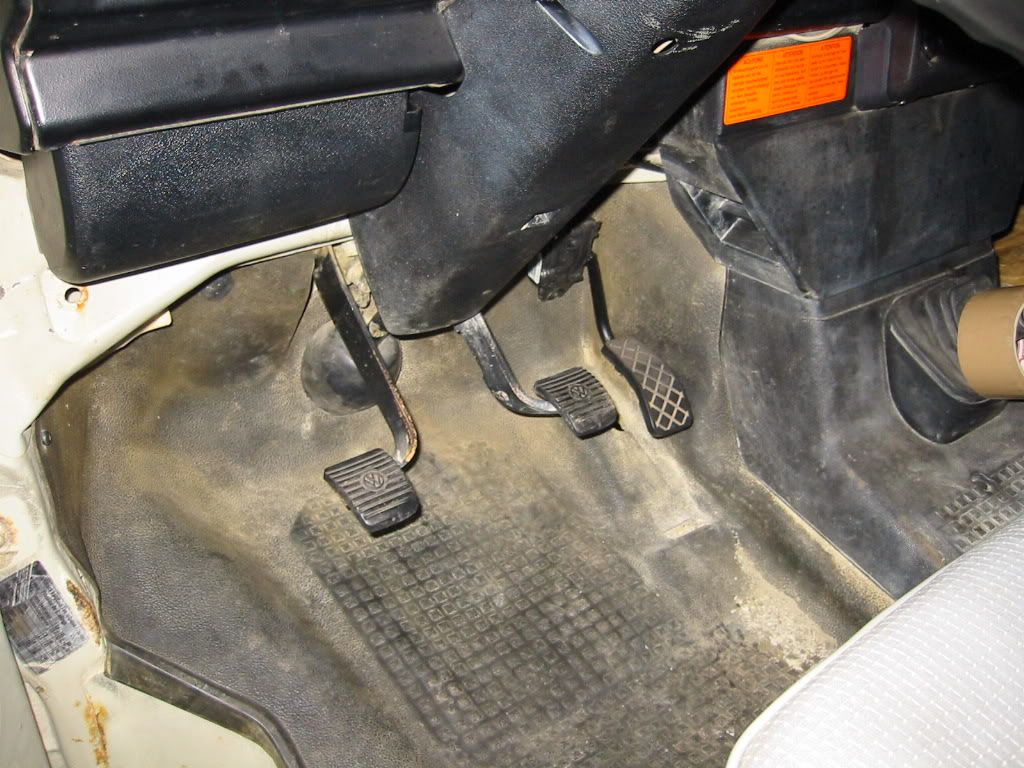
This setup has several advantages over other TDi conversions. You can remove the original pedal completely and weld up the floor. You don't have the potentiometer somewhere else like under the floor up front or in the engine bay where it can get wet (they don't like getting wet! I know from experience!) and you don't have a cable to worry about. I'll run the cables from the rear to the front in the roof frame along with the immobiliser wiring. Next was to make up a bracket for the 3rd bolt of the cooling tank assembly. 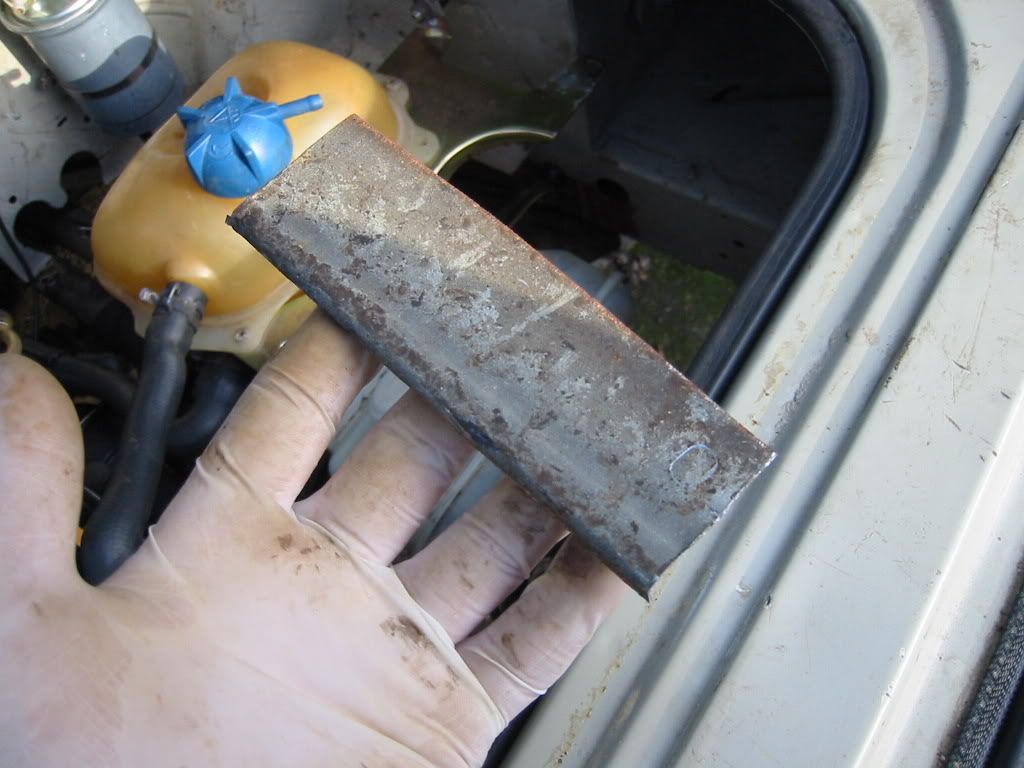
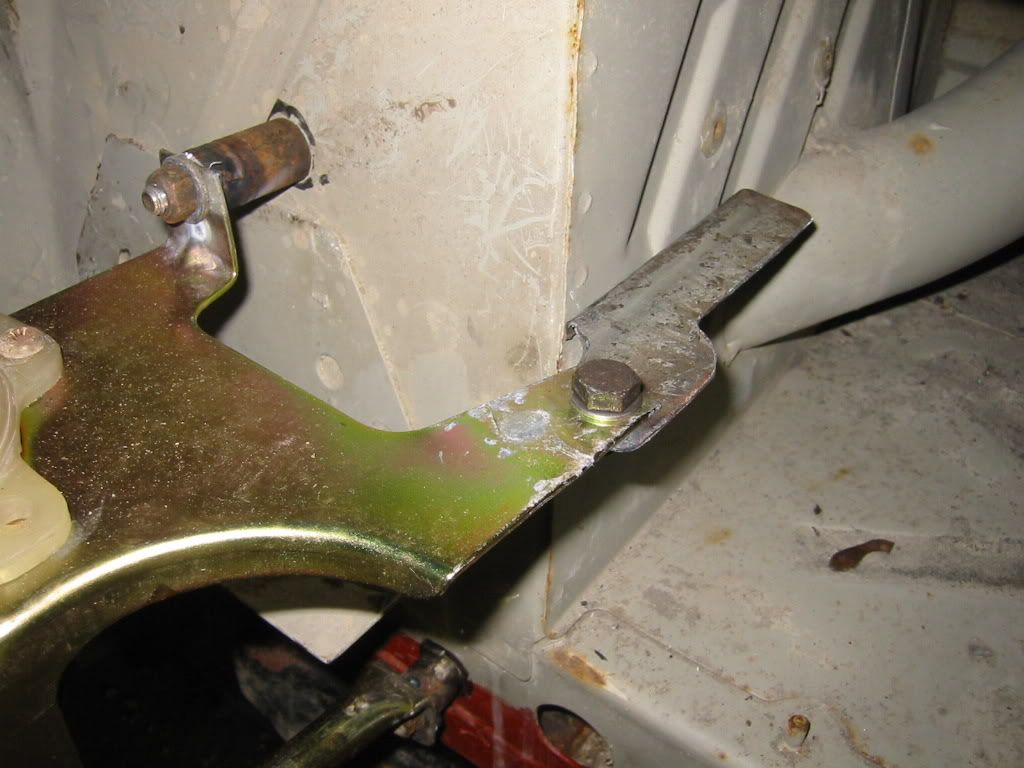
Start with a bit of plate... 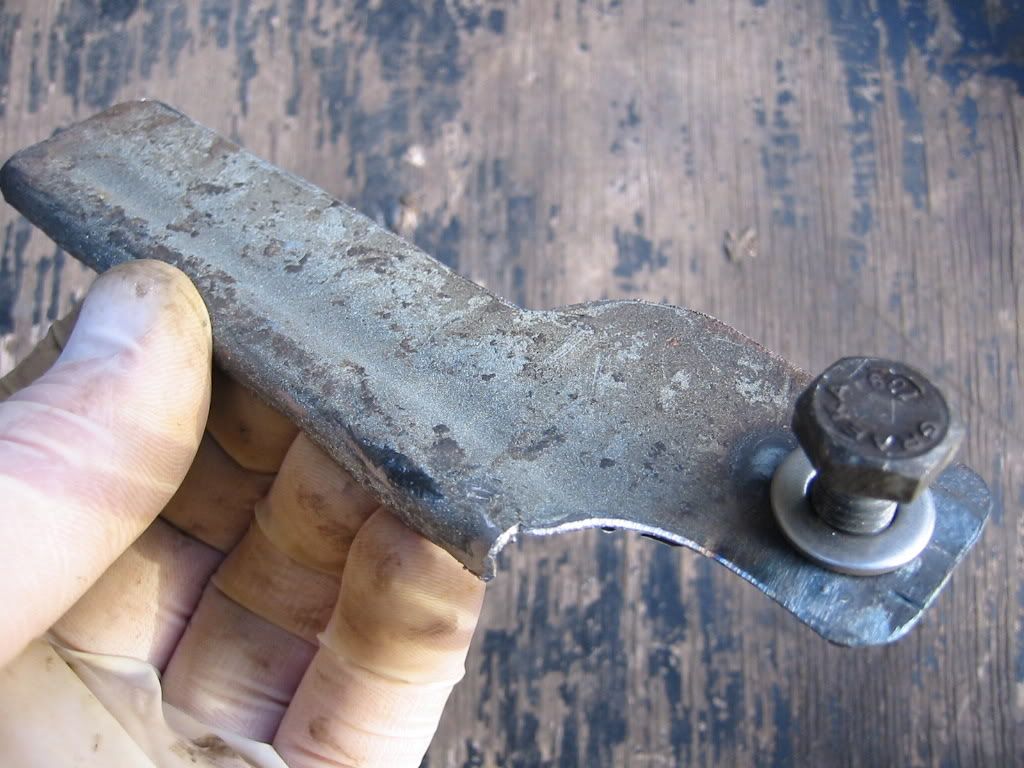
A bit of cutting and grinding and then a nut welded on the back... 
And bolted in place. I'll run a seam of weld along the bottom of it in the van when I weld in all the other little brackets I'm making for various things around the engine bay and it'll get painted body colour when the van is painted.
A couple of small brackets made up for the relay box.. 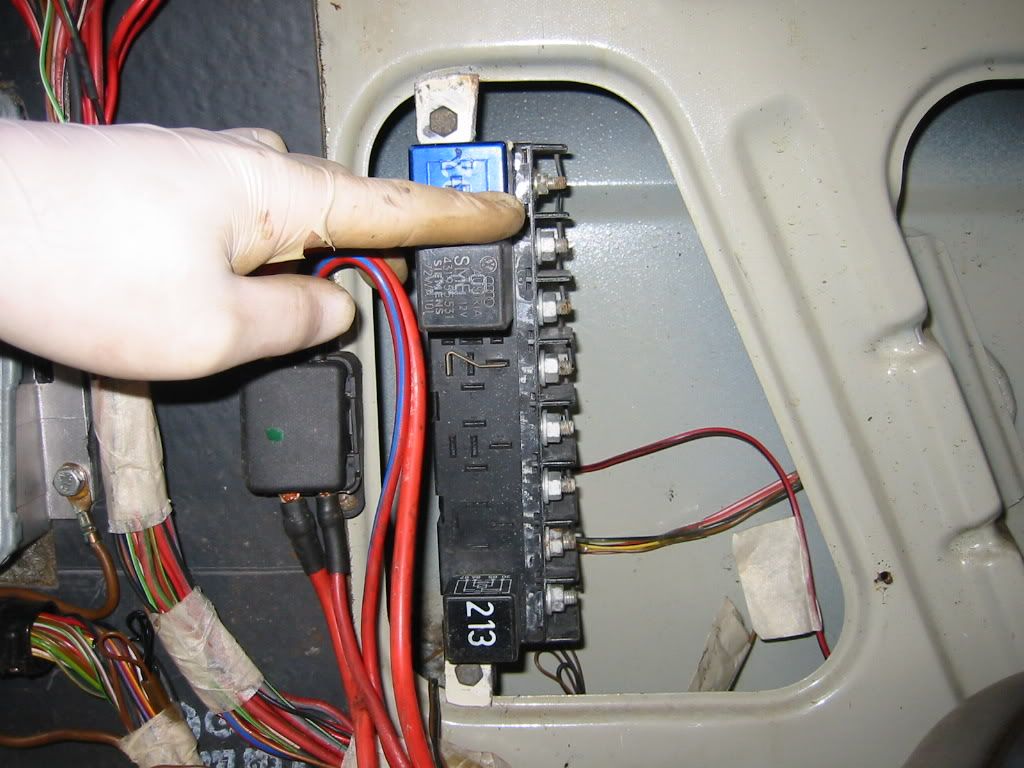
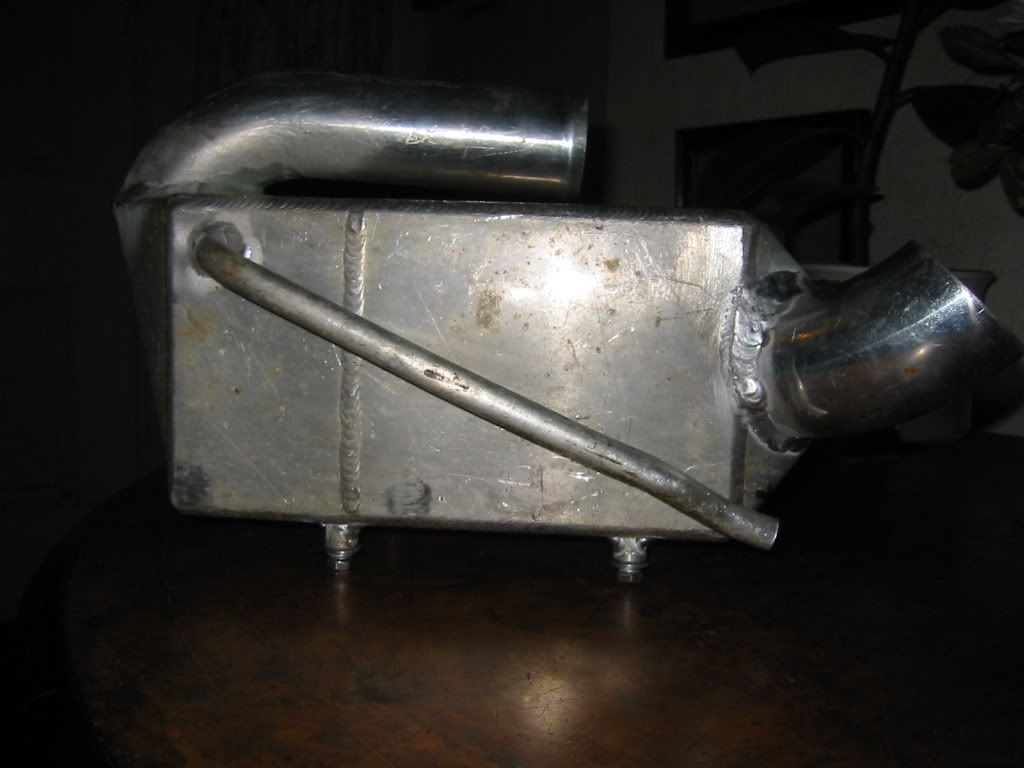
Then back to the Chargecooler to finish off fittings and water pipes.. 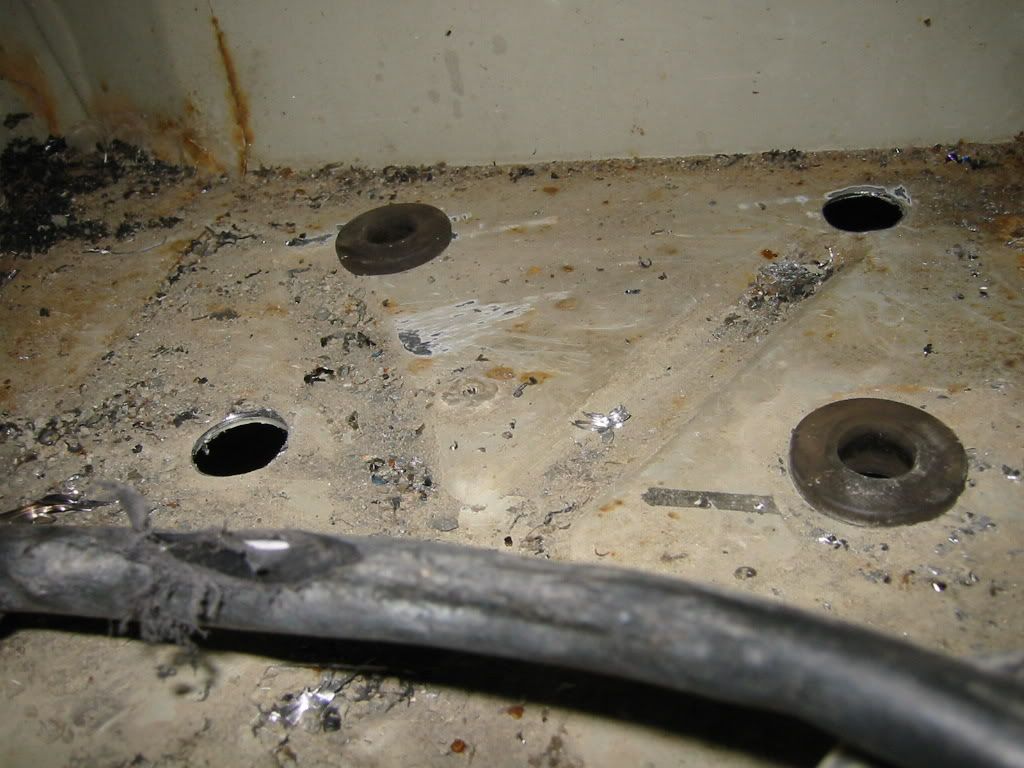
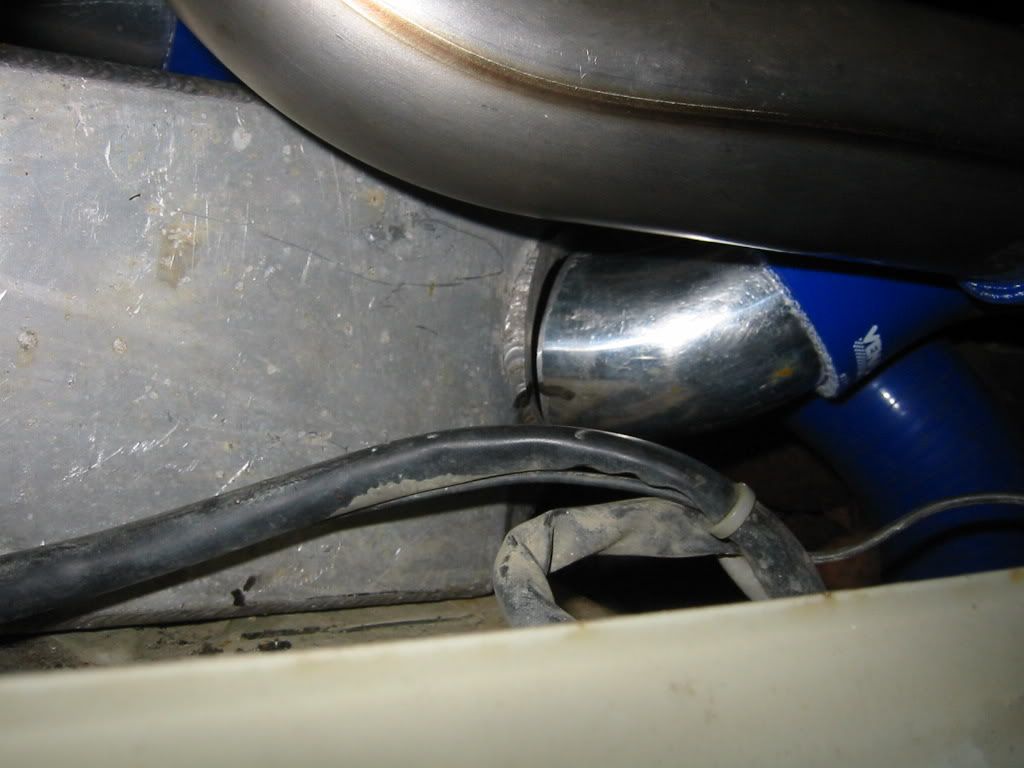
I've drilled 4 20mm holes through the floor and the chargecooler with have 4 lugs welded on underneath which in turn will be tapped out to M6. That way it'll be rubber mounted so as not to vibrate as the engine rattles to van to pieces! I made up the water pipes, in and out.. pics of these when I get the chargecooler back from welding. Here's where the lugs will sit. 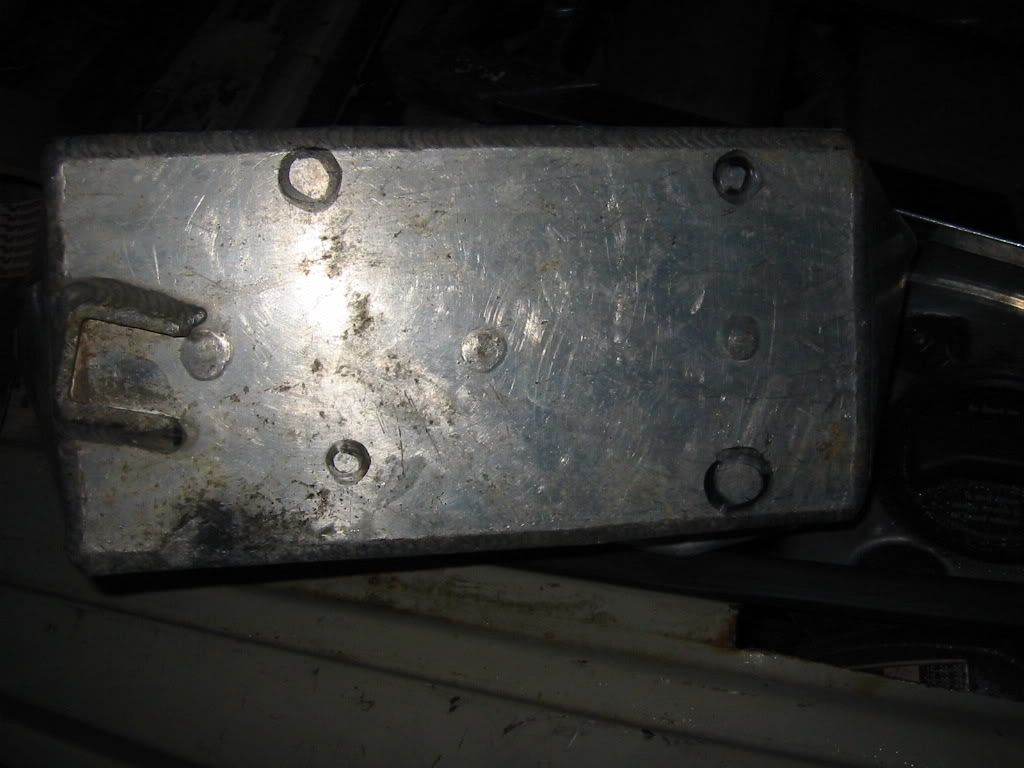
Right now I'm looking for a bead roller. At this rate I'll be making my own. If anyone has one kicking around or knows of anyone who I can borrow one from, please let me know. MG Edited by Ghia - 15 Nov 09 at 15:56 |
|
|
|
|
Ghia
Vanorak
Nesh Joined: 04 Mar 05 Location: Banbury Status: Offline Points: 2889 |
Posted: 27 Jan 08 at 22:48 |
|
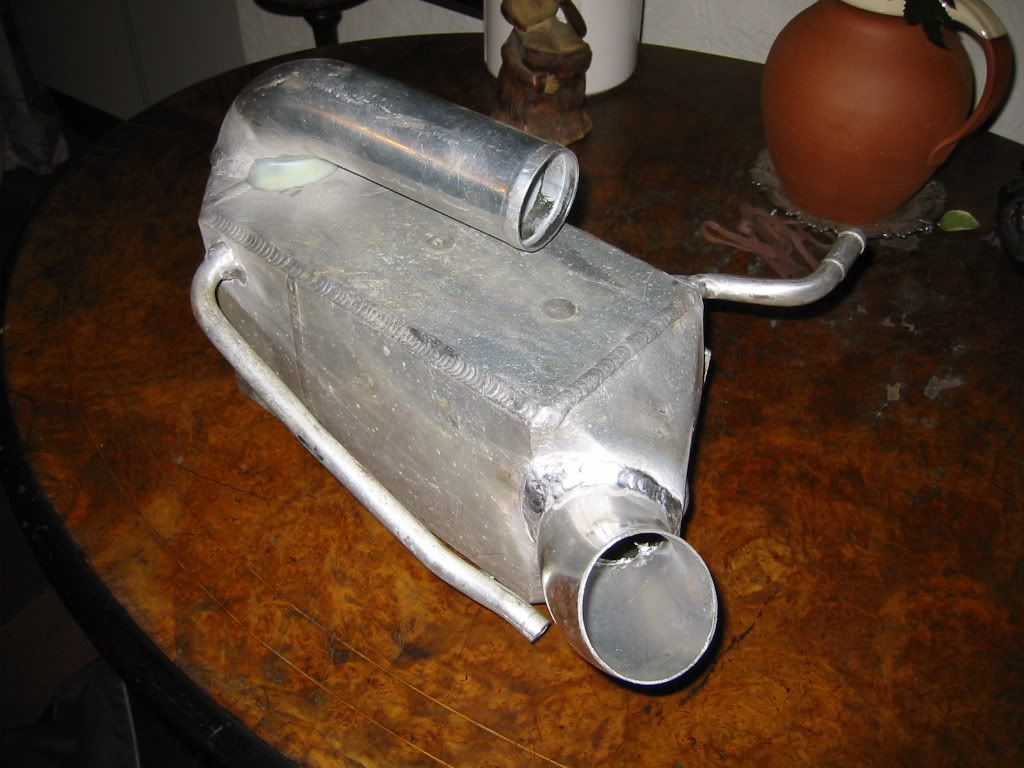
Oh yes I almost forgot, I have bought a section of 5 inch Stainless tube to make a silencer out of. It might not quieten it down much but atleast it's an attempt! Of the 3 foot or so of 3 inch pipe which comes from the turbo, turns 180o and then straight out the back, I'm going to use 12 inches of it, drill lots of holes in it and then use the 5 inch section over the top to create a muffler. Byron is drilling pilot holes here. I need to buy some stainless sheet metal for the ends. 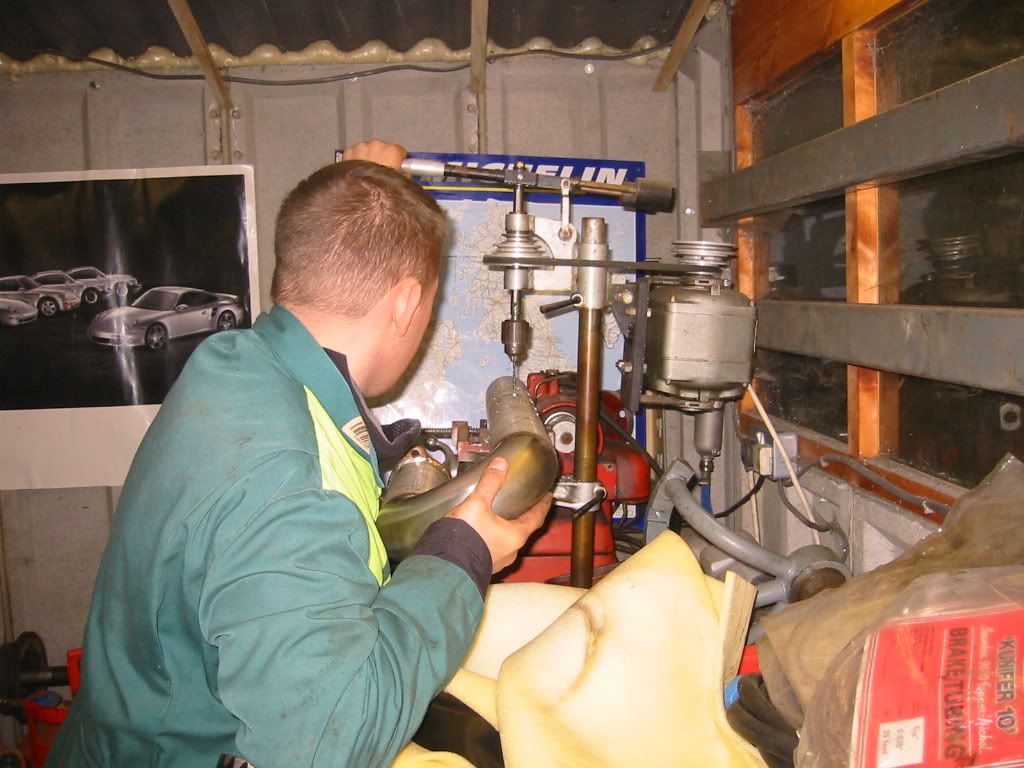
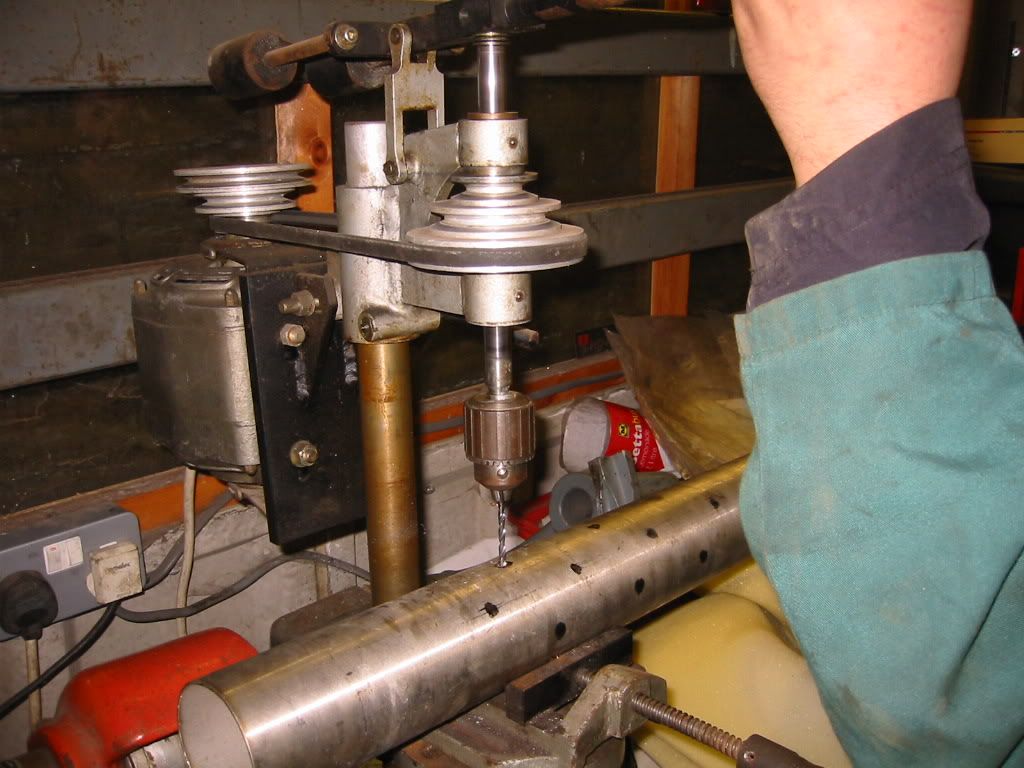
MG Edited by Ghia - 15 Nov 09 at 15:58 |
|
|
|
|
mr bricolage
Vanorak

Joined: 29 Jul 05 Status: Offline Points: 1941 |
Posted: 28 Jan 08 at 15:09 |
|
If you want to fabricate your own exhaust you can always look at http://www.dynoflow.co.uk
Edited by mr bricolage |
|
|
Euramobil Terestra
|
|
|
|
|
lee.
Yardie

Joined: 10 Nov 07 Location: Wales Status: Offline Points: 420 |
Posted: 28 Jan 08 at 22:52 |
|
nice job mike it looks like a massive amount of work to get everything right but it will be awsome when its done. if you ever need anything from down my way give us a shout will be glad to help. lee.
. |
|
|
|
|
Ghia
Vanorak
Nesh Joined: 04 Mar 05 Location: Banbury Status: Offline Points: 2889 |
Posted: 06 Mar 08 at 19:17 |
|
Well it's been a while but I'm mega busy working back with Baxter (back hurts from that whip! 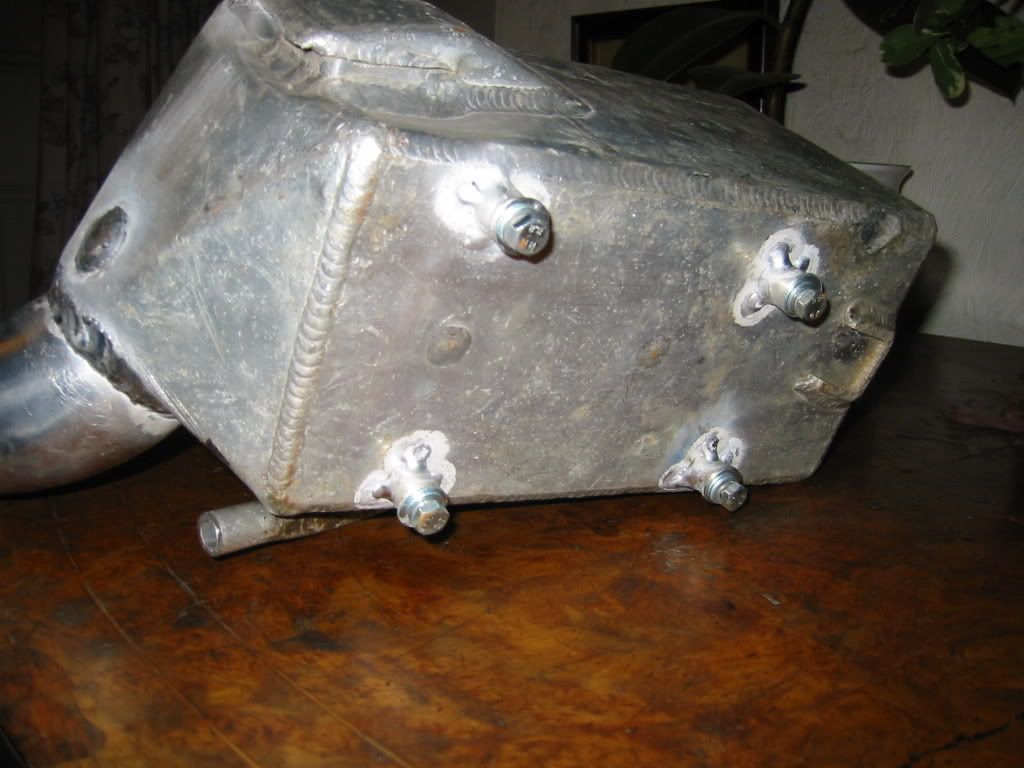
Now this is done, I can bolt it in and get the rest of the Chargecooler water system connected up and running. I've still not managed to find a sensibly priced bead roller to roll beads into the ends of the pressure pipes but at the moment I'll be running stock pressure which is no more than 7-11psi.. hopefully everything should stay put. Once I start upgrading, I'll have to bite the bullet. MG Edited by Ghia - 15 Nov 09 at 15:59 |
|
|
|
|
Post Reply
|
Page <1 23456 24> |
| Tweet |
| Forum Jump | Forum Permissions You cannot post new topics in this forum You cannot reply to topics in this forum You cannot delete your posts in this forum You cannot edit your posts in this forum You cannot create polls in this forum You cannot vote in polls in this forum |


 Limey the Syncro 16 2.5TDi Westy. 330mm Brakes!!
 Topic Options
 . Everytime I think it'd be nice to have it up and running for a specific date something else comes up which needs sorting first. It'll be up and running for End to End next year so I'm not pushing to get it up and running. That said it would be great to have it up and running over Christmas.

